
At 4Change Energy, we’re always looking for ways to save money, conserve energy and to create a more sustainable lifestyle. Things like low energy rates and offering 100% Texas wind plans are just a couple ways we accomplish that. But what about taking your energy conservation skills to the backyard? This week on the Wire blog, we’re getting crafty with how to conserve energy outdoors with a DIY rain barrel!
Imagine having 32 gallons of FREE water at your disposal when it comes time to refresh your garden. Sounds nice right? Some data shows an average of $35 saved per month when using your DIY rain barrel instead of the main water line. Considering that an inch of rain dumps 500 gallons on the roof of a typical 2,000-square-foot house, you’ll most likely have more water than you know what to do with! So what will you need, and how do you make it? The guys over at ManMade have the answer for you.
- Plastic Garbage Can — 32 Gallons from any Home Center
- Hose Bib — Lead Free!
- 3/4″ Washer (1 qty.)
- #11 Rubber O-Ring (1 qty.)
- Clear Silicone Caulk
- Cinder Blocks (6 qty.)
- Caulk Gun
- Drill with 3/4″ Spade Bit
- Utility Knife
- Steel Cork-Backed Ruler
- Hose
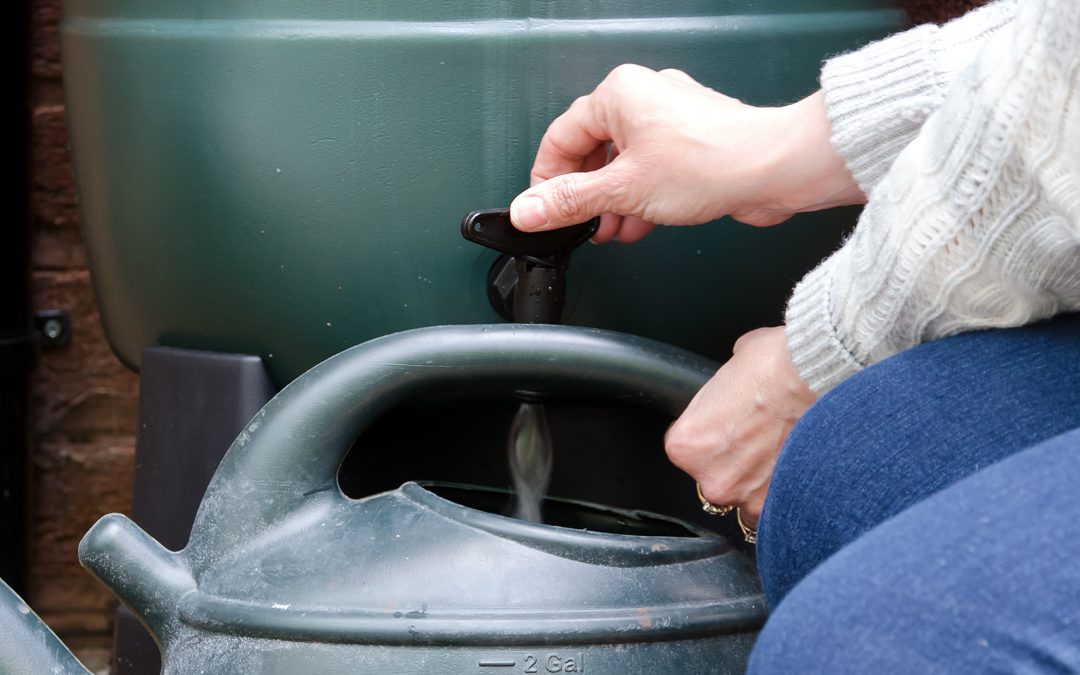
1. Install spigot
- Determine where you want the spigot. ManMade measured about 3 inches above the base to avoid clogs from the sediment that’s inevitably going to build up. (Don’t worry about setting it too low for access, since you’re going to elevating the barrel with cinder blocks.)
- Drill a 3/4″ hole with a spade bit.
- Slap an o-ring and washer on your spigot end and screw it in. Add a bead of caulk under the washer to make it watertight.
2. Cut a hole in the lid
Measure the end of your downspout and cut a hole slightly smaller than its outer dimensions. ManMade drilled pilot holes on the corners and used a box cutter with steel cork-backed ruler to keep the lines straight.
3. Elevate your barrel
To increase water pressure and make access easier, you’ll need to elevate your barrel. (This is tapping into the forces of hydrostatic pressure, which is the same gravity-based principle that requires water towers’ storage tanks to be high up.) ManMade used two stacks of 8″ tall cinder blocks. Use a shovel or hoe to level out your area.
4. Final installations
- Install your downspout—I used my existing flexible downspout extension to wrap around the building corner and reach the barrel lid.
- Set up your hose. Now all you have to do is wait for rain!
Be sure to check out ManMade’s write up on their website for more details. We’re excited to get out and build our own!

Jackson Ralston
4Change Energy
Jackson Ralston has worked in the Texas electricity industry for over 8 years, helping customers better understand their energy choices. He’s passionate about making electricity simple, affordable, and accessible for busy families and households across the state. When he’s not writing or working on energy content, you’ll find him keeping up with the latest trends in customer-focused technology and service.